 Get How-To's
How-To's
How To Get Blood Stains Out of Clothes
Discover how much you could save on our Savings Calculator.
Read tips, tricks, and how-to’s on our Fabric of Life blog.
How-To's
Clothes ironing is an everyday household task often underestimated in importance. From job interviews and special occasions to simply wanting to look your best, knowing how to iron garments correctly can greatly impact how your appearance turns out. In our comprehensive ironing guide, we will walk through every stage of ironing clothes by fabric type (shirts, trousers, skirts, and dresses). Plus, we provide essential safety advice to make ironing an effortless and hassle-free experience!
Different fabrics call for different ironing strategies when ironing clothes. Every material type possesses unique properties that must be addressed properly for wrinkle-free results and polished outcomes. Here is some ironing help for different fabric types:
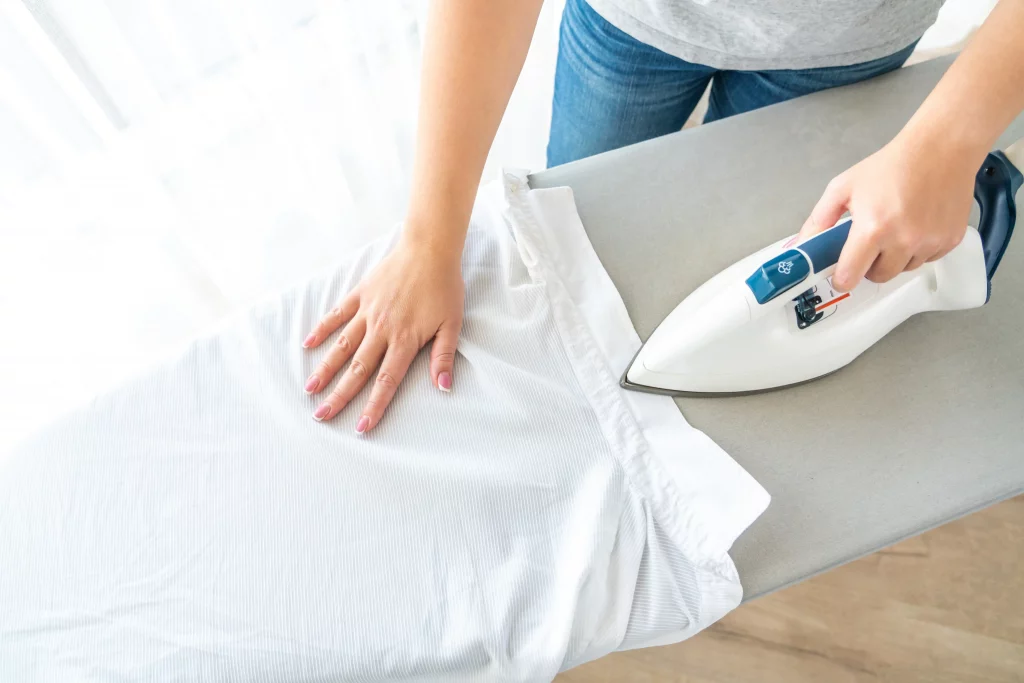
Ironing Cotton: Waxed fabric such as cotton can often be found in clothing products like T-shirts. When ironing cotton fabrics, use medium heat settings for your iron. Spray misted water on the garment to dampen it slightly before ironing it. Iron cotton fabric using a smooth back-and-forth motion. Apply additional pressure where there are stubborn wrinkles, and pay particular attention to collars, cuffs, and button areas to achieve a crisp finish.
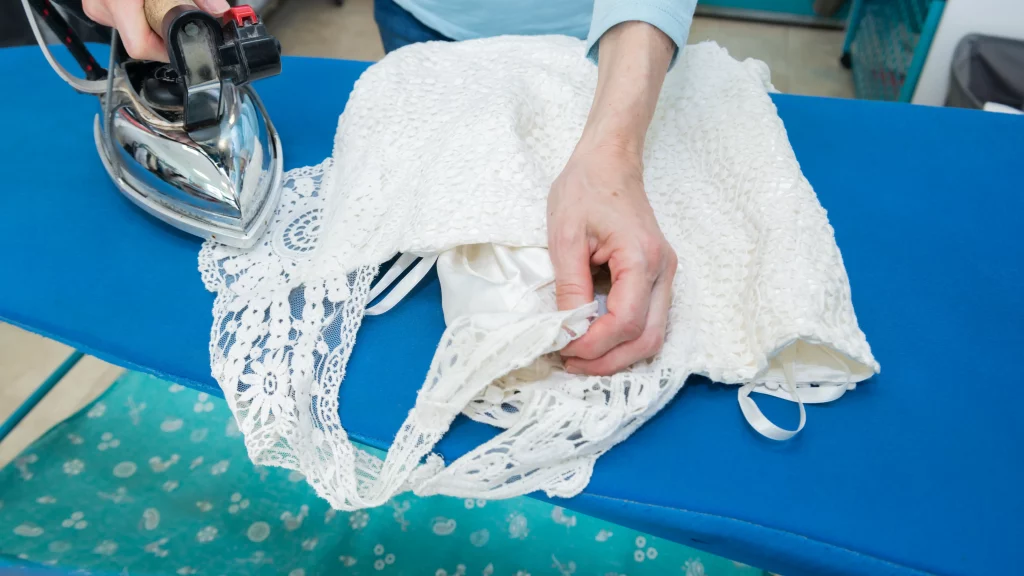
Ironing Silk: Handling silk carefully requires special consideration as its delicate fibers require special handling techniques for best results. Avoid damaging silk fibers when pressing wool fabrics by selecting a low heat setting on your iron (silk setting). Protect silk garments by placing cotton or pressing cloth between them and direct heat sources. Glide the iron lightly across it while applying light pressure without overexerting itself over it to avoid damaging fibers of this delicate fiber.
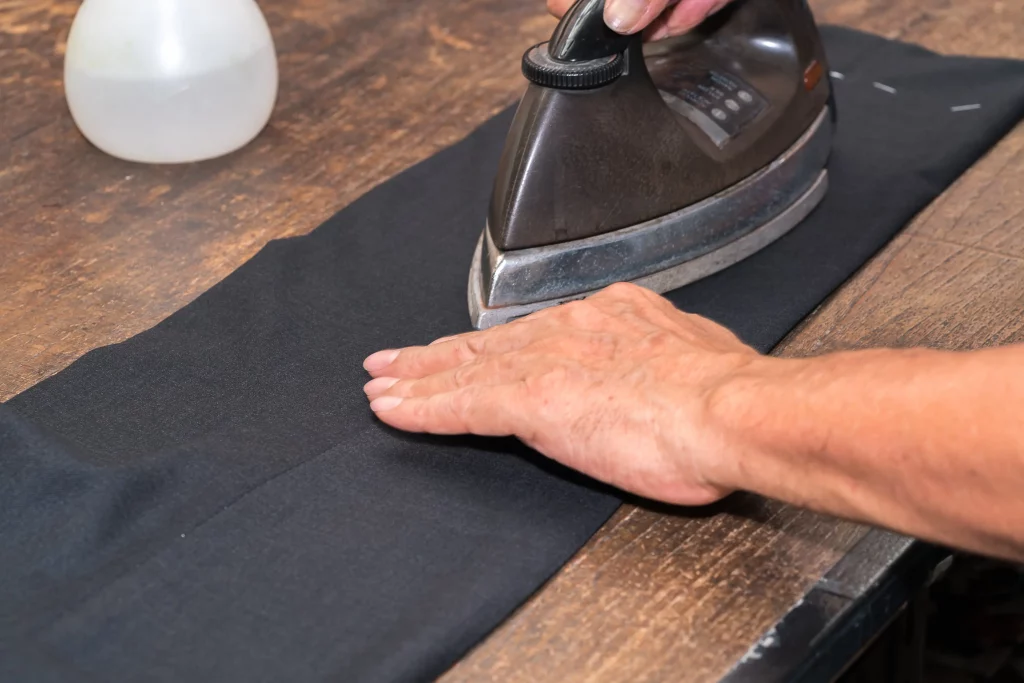
Ironing Wool: Wool is another delicate fabric that requires special care to avoid scorch marks or shiny spots on its surface. To do this, set the iron temperature between low and medium heat (wool setting) and steam if available. Turn the garment inside out for ironing on the reverse side – keep the iron moving to prevent scorching!
Ironing Polyester: This synthetic fiber boasts excellent wrinkle-resistant qualities and requires no special iron settings for ironing purposes. Ensure the iron is on low to medium heat (polyester setting). Iron the polyester fabric using even strokes; be careful not to overheat, as this fabric can melt at high temperatures.
Both polyester and linen fabric work equally well for ironing purposes. Regardless, linen may require a different treatment. Linen wrinkles easily but looks incredible when ironed properly. To achieve great results when ironing linen garments, utilize your iron’s high heat setting (linen setting), sprinkle water onto it before leaving it to sit a while to relax its fibers, and then iron using more pressure than when ironing other fabrics. *Synthetic Blends may require different treatments.
Many garments contain synthetic blends like cotton-polyester or wool-polyester fabric blends. To protect this investment from being damaged by improper ironing techniques, follow these instructions for the delicate fabric in the blend or find a dry cleaner.
Keep the care label for specific ironing instructions. If unsure, begin with lower heat settings and gradually increase them over time as necessary. Now that we understand how to iron clothes by fabric type let’s dive further into specific methods of ironing shirts, pants, skirts, and dresses.
A well-ironed shirt can significantly improve your appearance at work or special events. Here is a comprehensive ironing guide designed to give your professional image its desired crisp finish.
Prepare the Shirt: First, evaluate the fabric type and set your iron according to that setting. Using a spray bottle with water for cotton or linen shirts with excessive wrinkles could help. Once completed, lay the shirt on an ironing board until all wrinkles are removed from its surface.
Collar and Neck Areas: Wrinkled collars or neck areas need special care in ironing as these may lead to accidents! Consequently, start with the collar by opening and laying it flat on a board, ironing its interior first before flipping it over for exterior ironing – this helps maintain its shape and sharpness while helping retain shape for neck area ironing from points towards the center for optimal results.
Shoulders: Iron both inside and outside. This should help preserve its form. Position one shoulder over the narrow end of an ironing board and iron the yoke (the piece that sits across your shoulders), moving from shoulder to center, then repeating on the other side.
Cuffs and Sleeves: Unbutton both cuffs to lay them flat before ironing them. Iron the inside and outside of the cuff first; ironing sleeves from the top down may work best – use the seam as a guide. Flip the sleeves over and iron the other side carefully to avoid creating new wrinkles. (*1)
Once all parts have been ironed, give it another once-over to spot any missed spots and hang it immediately on a hanger to reduce wrinkle formation.
Use your iron’s steam burst feature for stubborn wrinkles for maximum efficiency. If ironing a shirt featuring prints or decorations, turn it inside out to protect the designs. Ironing is easier if your shirt is damp; otherwise, use a spray bottle, lightly misting it with water as necessary.
Follow these steps, and ironing shirts will be manageable! With practice, ironing shirts becomes less daunting and gives you a sense of satisfaction from mastering an essential life skill.
Ironing pants is an invaluable skill in creating an upscale appearance for work or formal events. A properly ironed pair can make all the difference! Here’s our step-by-step guide on how to iron pants.
Prepare Your Pants: Wrought iron the Pants (and Set your Heat Setting to Suit!) If cotton or linen has heavy wrinkles, lightly dampen them with water from a spray bottle before placing them flat on an ironing board with all seams aligned and a flat surface.
Waistband and Pockets: The waistband and pockets must be properly aligned when ironing pants. Otherwise, your seams could shift. For heavy, wrinkled cotton or linen pants, light dampening may help alleviate these wrinkles.
Creases and Seams: If your pants feature folds down the front or back, use the edge of an ironing board to form natural folds to use when ironing to define those folds. Iron them flat from top to bottom before continuing onto the legs simultaneously. Remove and iron along its edge upon each leg, laying flat on an ironing board until all other legs have been done the same. Until all legs have been completed.
Final Touches: Once ironing both legs is complete, double-check all your pants for any missed wrinkles before pressing to keep clothes looking their best! Hang the pants immediately on a hanger to prevent new wrinkles from appearing. Iron as soon as you finish with any spot treatment (either scorch marks or shiny spots), taking particular care with pleated styles to maintain their pleats by ironing around them. Apply steam to fabric with stubborn wrinkles, but do not overwet it. Follow all care label instructions when ironing pants to maintain an impressive and professional appearance. With practice comes ease in creating wrinkle-free trousers for any special event or formal gathering.
Ironing skirts and dresses is indispensable for keeping your wardrobe presentable and polished. Knowing how to iron skirts and dresses correctly can make all the difference for overall appearance – here is our step-by-step guide on how to iron skirts and dresses!
Prep Your Garment: Begin by checking the fabric type of your skirt or dress and setting your iron to its appropriate heat setting. For garments composed of cotton, linen, or another wrinkle-prone fabric that could need misting with water for wrinkles to lessen, lightly mist with water before ironing them to prevent wrinkles from forming further.
Collars and Necklines: Lay the skirt or dress on an ironing board and ensure it is wrinkle-free before ironing collars and necklines (for dresses, this typically means the top part). Press these areas with iron until creases or wrinkles have been eliminated by pressing with iron to smooth away creases or wrinkles.
Sleeves: Once ironing any collars or necklines has been completed, move onto sleeves by ironing collars/necklines separately as required (typically top part). Ironing sleeves separately may require using a steam iron to smooth any wrinkles away and remove wrinkles before ironing other areas (typically the sleeves).
Bodice and Waist: For optimal results, use an ironing pad over an ironing cloth when ironing these areas. For dresses, place the bodice and waist area flat on your ironing board and iron this portion carefully so any seams or darts lie smoothly against it. Work from the top down using long and even strokes for ironing. Pay special attention to pleats or seams that need structure maintained. Iron around these to maintain them as part of your ironing technique.
Once ironing the garment is completed, inspect for any remaining wrinkles before finishing up by inspecting each section separately for remaining wrinkles. Put the skirt or dress immediately on a hanger to prevent new wrinkles from appearing.
Pro-tip: Before ironing, wash and dry using either a gas or electric dryer.
This guide offers comprehensive instructions for ironing different fabric types and individual clothing items like shirts, pants, skirts, and dresses confidently and easily. Armed with our techniques, you’ll iron any garment confidently and easily!
We think you may like
Get How-To's
How To Get Blood Stains Out of Clothes
 Get How-To's
How to Unshrink Clothes – A Complete Guide to Unshrinking Clothing
 Get Garment Guides
Gas vs Electric Dryer